Using XFCE Desktop Environment on Cloud Raya VM
This article is going to discuss about XFCE in Cloud Raya Virtual Machine.
When we create a VM with Linux OS inside Cloud Raya, it will always be CUI (Command User Interface) / terminal.
As a server, of course, we will work more with remote systems. Indeed, a server generally does not need a GUI Desktop Environment installed because it can be managed with SSH. But if the server we are installing is a LAMP Server (Linux-Apache-MySQL-PHP, including Python and PostgreSQL) then it is very helpful if we install the Desktop Environment as well. So, we can browse to find information (such as forgetting how to manage log files on Ubuntu, doing testing on our server, or even when we want to experience multimedia features like we usually can do in the Desktop Environment).
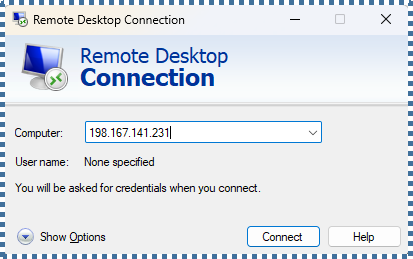
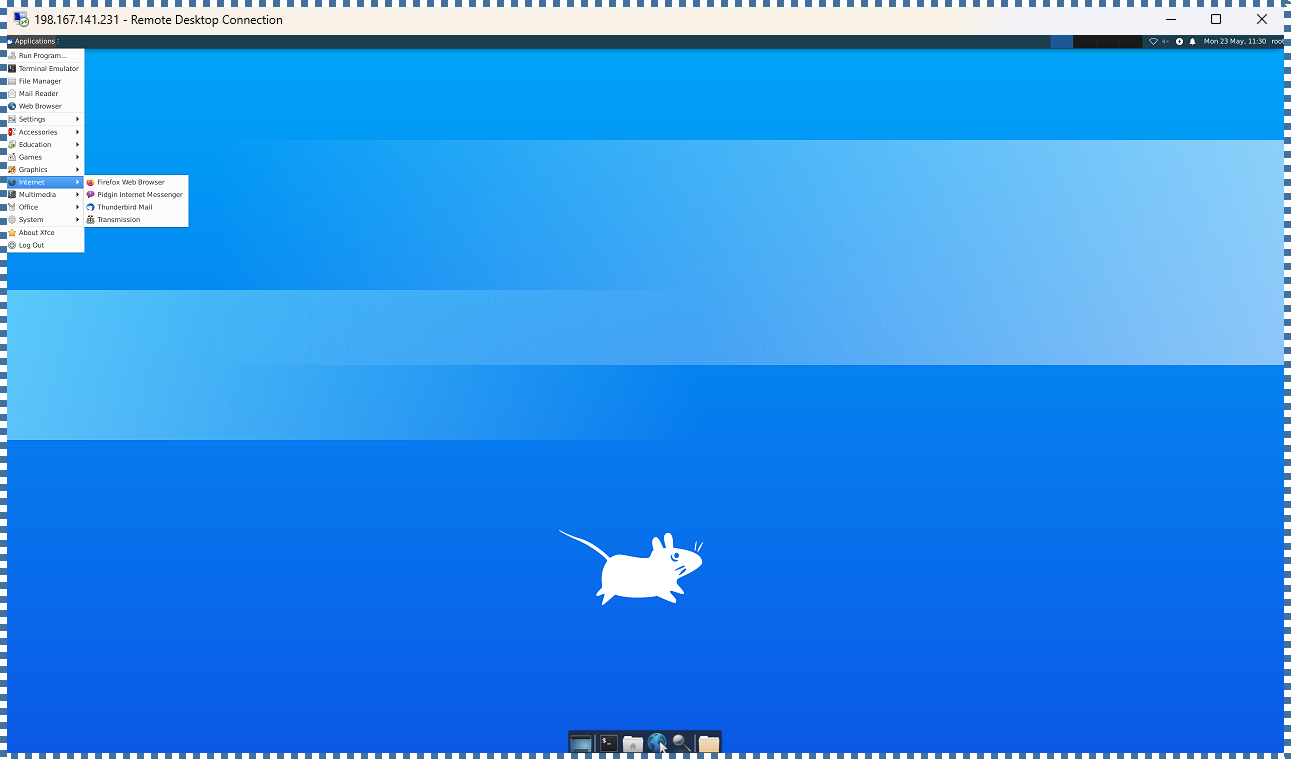
Thus, I will explain about installing the XFCE Desktop Environment in our Ubuntu VM on Cloud Raya and how to connect it using Remote Desktop Connection.
What is XFCE?
To start, let’s get to know what is XFCE. XFCE is a lightweight Desktop Environment for UNIX-like operating systems. It targets a Desktop Environment that is fast and low on system resources while remaining visually appealing and user-friendly.
XFCE Features
Now, let’s jump on the features. XFCE contains a number of core components for the minimum tasks you’d expect from a desktop environment:
- Window & Desktop Manager
Switch between opened windows, provide window decorations, and set Background images, and icons on the Desktop. - Session Manager
Controls login and power management from the Desktop and allows us to save multiple login sessions. - Application Finder
Shows the applications installed on the system in the form of categories, so that we can quickly find and launch them. - File Manager
Provides basic file management features and unique utilities like bulk renamer. - Settings Manager
Tools to control the various settings of the desktop; like keyboard shortcuts, appearance, display settings, etc.
Besides the basic set of modules, XFCE also provides numerous additional applications and plugins so you can extend your desktop the way you like, for example, a terminal emulator, text editor, sound mixer, application finder, image viewer, iCal-based calendar and a CD and DVD burning application. You can read more about the modules of XFCE on the projects page.
The Benefits of Using XFCE
There are several impacts and benefits that we can get when using XFCE, including:
- Can access Linux VM not only via SSH but also via GUI.
- Not only can you use a Linux VM to configure the server, but it can also be used as a means of multimedia, browsing, file management, games, and other common things in the Desktop Environment.
- Get the Desktop Environment experience with its lightweight performance.
- Get the Desktop Environment experience without additional licenses like when we use Windows OS.
Why Should we Launch XFCE on Cloud Raya?
Now that we know the features and benefits of using XFCE. Let’s dive deeper into why we should launch XFCE on Cloud Raya.
- Fast performance thanks to Cloud Raya’s Data Center grade SSD, making our Desktop Environment fast and lightweight
- Diverse package options, making us free to determine the VM specifications that suit our Desktop Environment needs
- Flexibility in upgrading and downgrading VM specifications. Suitable for those of us who need to adjust VM performance from time to time
- Diverse cloud region options
- Reliable 24/7/365 Cloud Raya’s support
Install XFCE on Ubuntu VM on Cloud Raya
So, to start with, we need a VM inside Cloud Raya. In this article, I will use the Ubuntu OS.
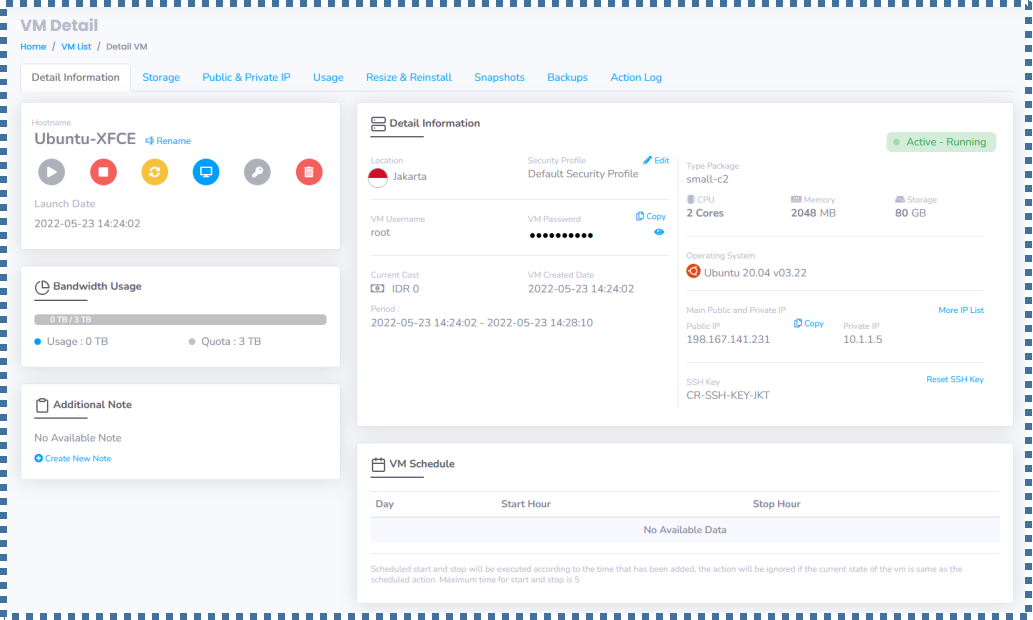
To see how easy it is to launch a VM in Cloud Raya, you can check the following article: Create VM on Cloud Raya
We access the VM via PuTTY.
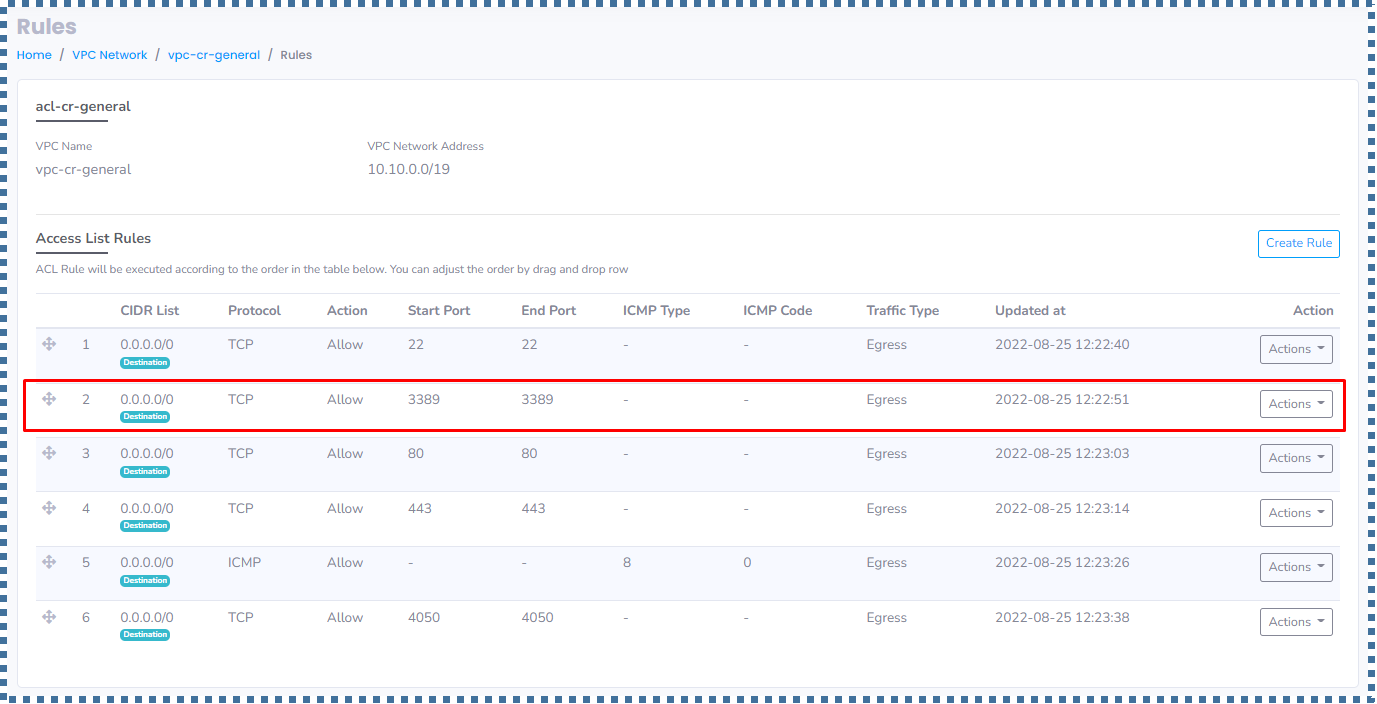
First of all, we need to change the password so that it will be easier for us to access the remote desktop.

# sudo passwd rootThen we update and upgrade our Ubuntu package first.
# sudo apt-get update && apt-get upgradeAfter the system is up-to-date, we can go ahead and start installing the Desktop Environment. In this article, I will install Xubuntu-Desktop.
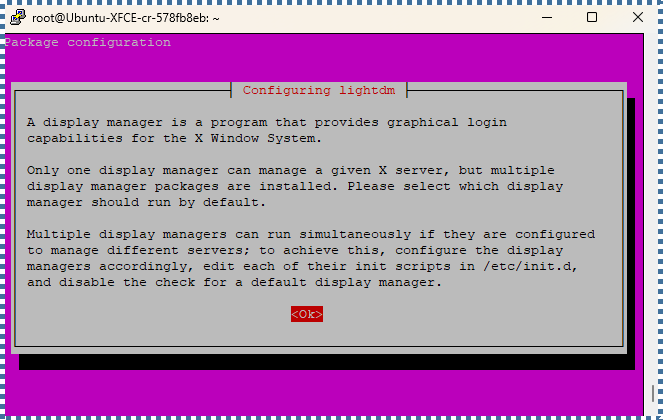
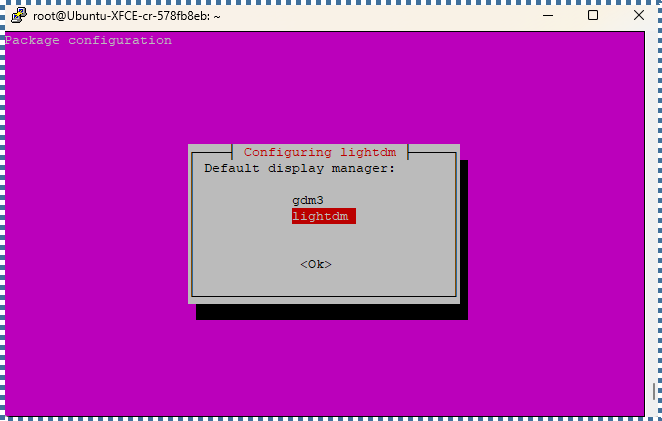
# sudo apt install xubuntu-desktopThere are several other Desktop Environment options available, such as KDE, GNOME, etc. But I’d go with XFCE because it’s light enough, and fast enough, also works pretty well.
After everything is done, the next thing we will do is install XRDP.
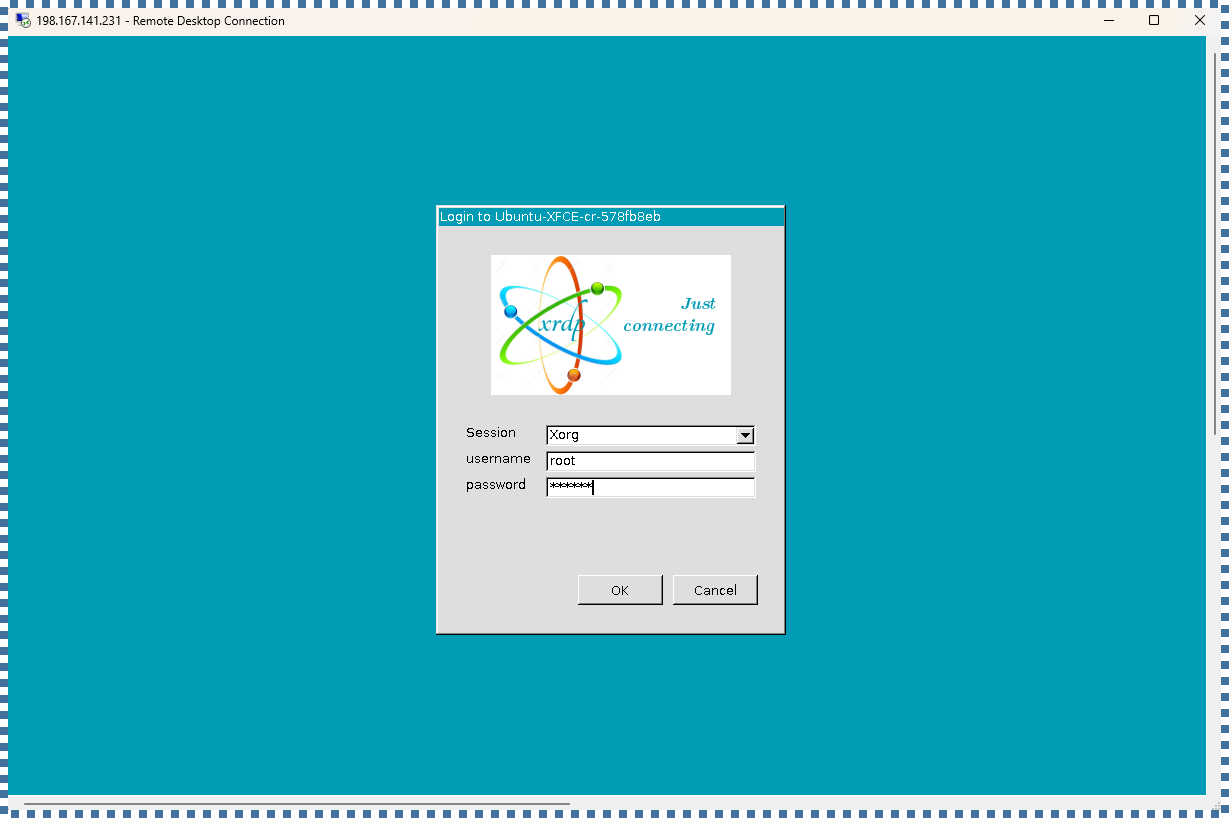
XRDP provides a graphical login to remote machines using RDP (Microsoft Remote Desktop Protocol)
Most people usually prefer to use VNC in doing remote to their server. However, I personally prefer RDP, so I will use XRDP.
# sudo apt install xrdpWhen finished, we will make this XRDP service run automatically at bootup
# systemctl enable --now xrdp
This way, in the future, when we just start the VM, the XRDP service will automatically run.
We can check the status also with the following command:
# systemctl status xrdp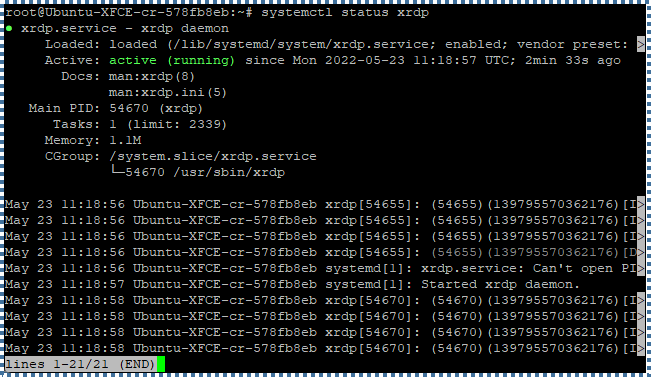
Finally, we will create a file called xsession
# nano ~/.xsessionAdd the following syntax:
xfce4-session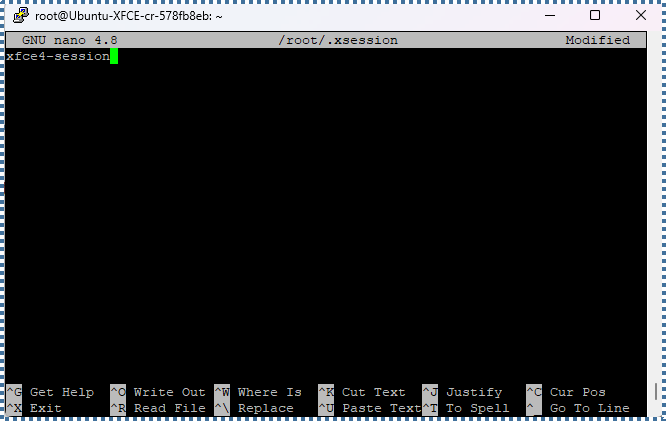
Conclusion
All in all, XFCE helps us to create a desktop environment of our Cloud Raya Linux server VM which by default only uses the Command User Interface. In this article, you have known XFCE’s benefits, and features, as well as how to install it in Cloud Raya’s VM. Hopefully, you find this article helpful.
Find more tutorials and articles in Cloud Raya’s Knowledge Base and blog. Or even better, you can watch a video stream on Cloud Raya’s Youtube channel.
……………..