Backing-Up Cloud Raya Windows VM Using Acronis Cyber Protect
Having a Virtual Machine (VM) on the cloud is a good step to achieve good data availability and reliability. However, accident can happen and having a great backup scenario is strongly recommended. In this article we are going to show you the step of backing-up using Cloud Raya Windows VM using Acronis Cyber Protect.
Acronis Cyber Protect is a backup solution provided by Acronis that integrates backup and recovery, disaster recovery, malware prevention, security controls, remote assistance, monitoring, and reporting. With Acronis Cyber Protect and your hosted VM on Cloud Raya, you will achieve 3-2-1 Backup Strategy and will let you for having ease of mind with your data on the cloud.
Here is the thing you need to prepare before you start to backup your Cloud Raya Windows VM using Acronis Cyber Protect.
Preparing the Infrastructure
First of all, you need a Windows virtual machine in Cloud Raya. You can read the detailed guides on how to create a new VM on this Knowledgebase article : Deploying a Virtual Machine in Cloud Raya – Cloud Raya Knowledge Base
After you have successfully deployed Windows virtual machine in Cloud Raya, you’ll need an Acronis Cyber Protect Backup solution subscription. You may use your own subscription, or you may get from us with a special price just by Contacting us.
Setting Up the Backup
After you have access to the Acronis Management Console, Login to it using your account. If you ordered the Cyber Protect Backup from us, you may access Management Console from this link : https://sg-cloud.acronis.com
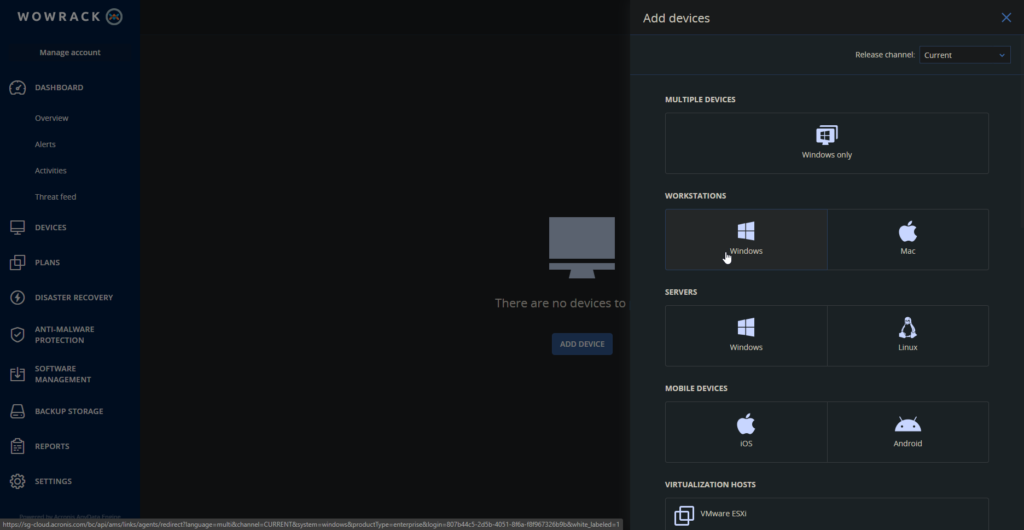
After Acronis Management Console (MC) has opened, the next step is to add the VM to the Protection Plan. Click on the  button on the top right location of the console. Then a sidebar will come up.
Since the type of your Windows VM is a Windows Server, click on Windows Button under Servers group. After that, you will be asked to download the Acronis agent. Download and then copy the agent to the VM that we need to protect.

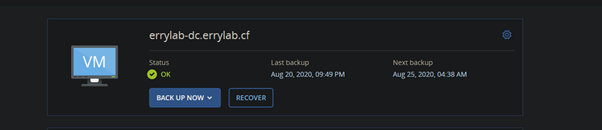
After installer window is opened, click Install. After the installation is completed, and agent is registered, it will show up in the Console.
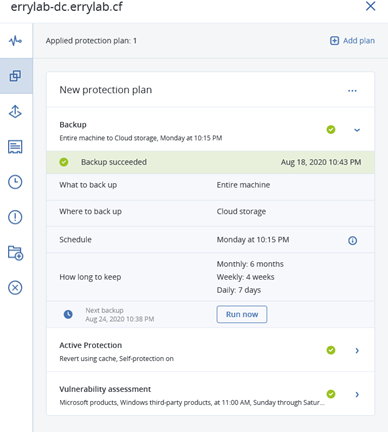
After the agent is recognized, we need to create a backup plan to protect the VM. We can set it up by clicking on the Gear Icon -> Protect -> Add Plan. In this article, we are setting the Protection Plan 1 day per week backup plan with 4 weeks retention.
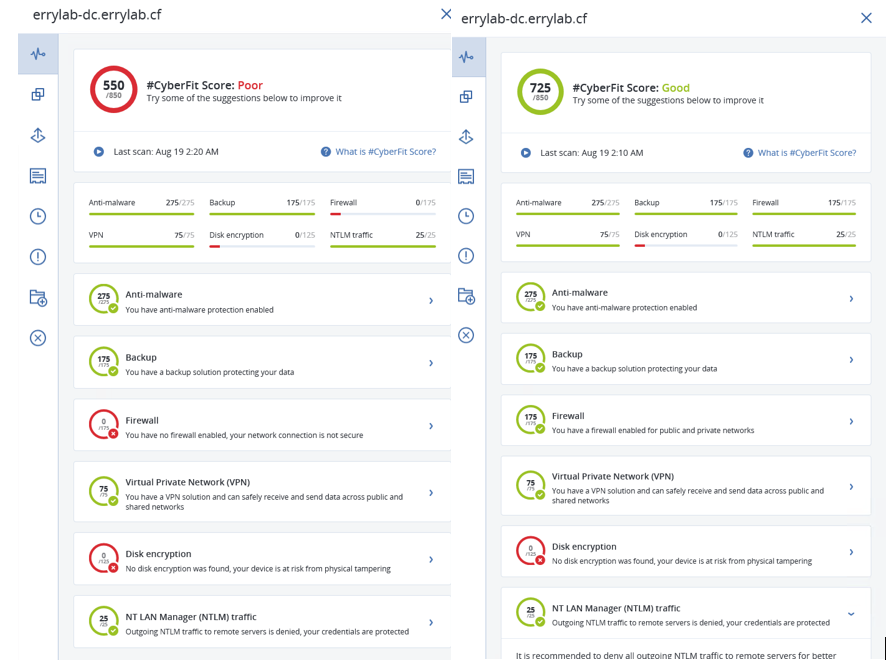
Since Acronis Cyber Protect also provide a score to evaluate a security issue within protected VM, in the VM that we have protected, we can see the #CyberFit Scoresection to get the Initial Score.
Based on the initial score, the VM score is low due to poor setup. Perform all recommended fixes until the score is showing green.
And that’s it!
We have successfully protected the VM with Acronis Cyber Protect. Your data will be kept safe from any risks or incidents.
In Case of Emergency, Just Restore the VM
In any case of emergency that need you to restore the VM, you can easily perform it by following these steps:
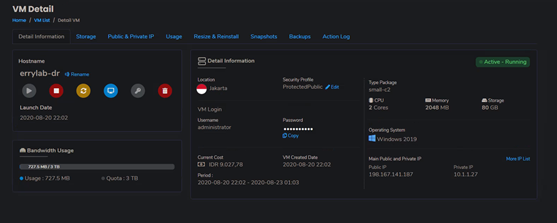
Create a new VM on Cloud Raya that will act as a restore container of the protected VM. Using previously provided guide, create a new Windows VM in Cloud Raya. After a new VM has been created. Login to the VM using Console
After that, setup the Agent in the new VM with a procedure that we’ve covered before. After the agent has been correctly configured, it will appear in the Cyber Protect Console as well.
We don’t need to create a backup plan for this VM since this VM only used as a recovery place for protected VM.
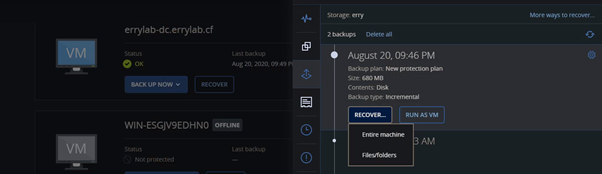
After that, login to Acronis MC, select the protected VM and click on Gear Icon -> Recovery. Then click on the preferred backup date and click on Recover, then Entire Machine.
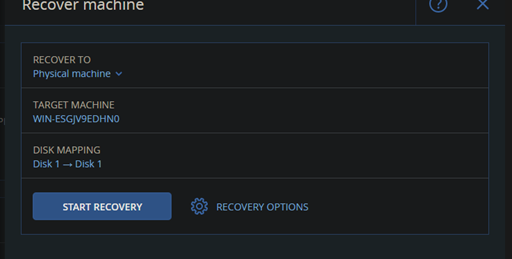
Select the target machine to Target VM (in this case errylab-dr). Then click on Start Recovery
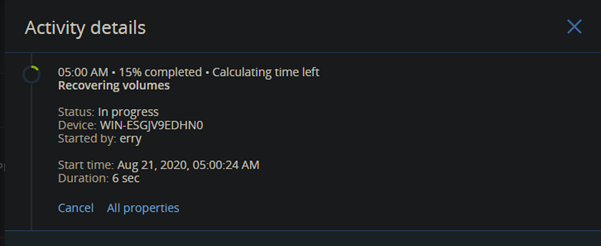
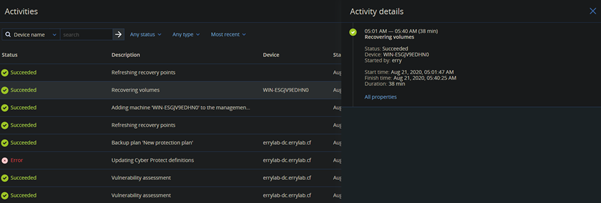
Now, we wait for the Recovery process to be completed.Now, we wait for the Recovery process to be completed.
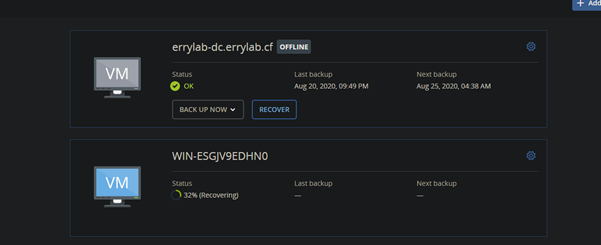
After the recovery has been completed, we can check on the VM and login.
In Cloud Raya, the default Internal IP is a DHCP IP which assigned by the system. Thus, we need to change IP of the new VM to be the same as the old one.

And voila!
Your broken VM is now successfully restored. All with a few simple steps.
That’s it, we’ve covered backup and restore VM on Cloud Raya using Acronis Cyber Protect.
Conclusion is: Great backup strategy and solution doesn’t always need a super-sophisticated steps, All you need is a great backup solution and simple steps to follow.