Installing Apache and Tomcat: A Quick Way
Apache is the most used web server in the world that provides such features as variety of modules, good performance, and support with other popular software. Tomcat is a web server and container that used to serve Java-based applications. In addition, Tomcat is an open-source implementation of the Java Servlet and JavaServer Pages technologies, released by the Apache Software Foundation.
Here are the steps for installing and configuring Apache and Tomcat on the same server in Cloud Raya Virtual Machine.
Step 1 – Installing Apache2
First, update the Ubuntu repository with command:
# apt update
Then, install the Apache2 package with the command :
# apt install apache2
Don’t forget to add port 80 to the Network Security Profile. For example, I’m allowing all IP Address to access port 80 on this Virtual Machine.

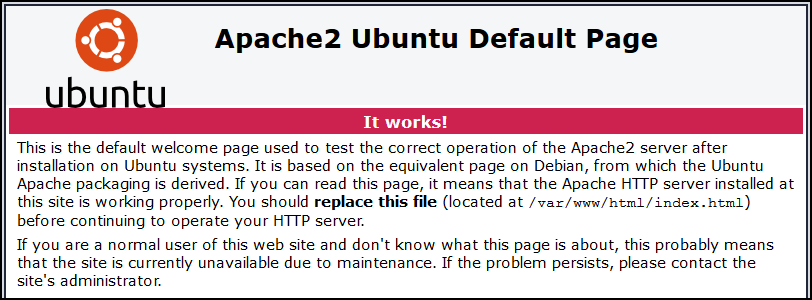
After that, access the Virtual Machine Public IP Address with a web browser. If the installation process succeeds, it should display the Apache2 Ubuntu Default Page as shown below.
Step 2 – Installing Java
Tomcat requires Java to be able to execute the Java application code. You can use OpenJDK or Oracle JDK as it’s base. In this guide, we’ll use OpenJDK as its’ base.
To install OpenJDK on Ubuntu, type command :
# apt install default-jdk
After installation process finished, check your Java installation version with command :
# javac --version
Step 3 – Create Tomcat User
For security purposes, Tomcat should be running by a non-root user. First, create a tomcat group with the command :
# groupadd tomcat
Next, create a Tomcat user. Make this user is a member of the tomcat group with home directory /opt/tomcat with a shell /bin/false (so nobody can log in into account).
# useradd -s /bin/false -g tomcat -d /opt/tomcat tomcat
Step 4 – Download and Install Tomcat
Firstly, change to /tmp directory as a good place to download for temporary files :
# cd /tmp
Second, Use the curl command to download a link that copied from the Tomcat website (as this article was written, the last stable version is Tomcat 9) :
# curl -O https://downloads.apache.org/tomcat/tomcat-9/v9.0.38/bin/apache-tomcat-9.0.38.tar.gz
Finally, install Tomcat to the /opt/tomcat directory. In doing so, create the directory and extract the archive with these commands:
# mkdir /opt/tomcat
# tar xzvf apache-tomcat-9.0.38.tar.gz -C /opt/tomcat --strip-components=1
Step 5 – Permissions Setting
Change the directory where we unpacked the Tomcat installation on previous step (/opt/tomcat) with command :
# cd /opt/tomcat/
Give the tomcat group ownership over the installation directory:
# chgrp -R tomcat /opt/tomcat
And then, give the tomcat group read access to the conf directory and all of its content, and execute access to the directory itself with command :
# chmod -R g+r conf
# chmod g+x conf
Make the tomcat user owner of the webapps, work, temp, and logs directories with command:
# chown -R tomcat webapps/ work/ temp/ logs/Step 6 – Create a systemd Service File
To create systemd service file for Tomcat, first locate the JAVA_HOME location with command :
# update-java-alternatives -l
As we can see the JAVA_HOME location is at /usr/lib/jvm/java-1.11.0-openjdk-amd64 directory.
Next, reload the systemd daemon so the systemd daemon can know the service file, with command :
# systemctl daemon-reload
After that, start the Tomcat service by typing command :
# systemctl start tomcat
Make sure the service is running by typing command :
# systemctl status tomcat
And then, make Tomcat service automatically start at boot by typing command :
# systemctl enable tomcat
Step 7 – Configure Tomcat Web Management
Tomcat uses a web management interface to configure its settings. To begin with, we need to allow port 8080 (Tomcat default port) on firewall rule by typing command:
# ufw allow 8080
And then, add port 8080 to the Network Security Profile :

After that, add a user that can manage manager-gui and admin-gui by editing file tomcat-users.xml.

Add the user and password you want with role manager-gui and admin-gui.

Afterwards, edit the 2 files below:
1. /opt/tomcat/webapps/manager/META-INF/context.xml
2. /opt/tomcat/webapps/host-manager/META-INF/context.xml

Then, disable the allow IP Address section to allow any IP Address access to the Tomcat server.

After editing those files, restart the Tomcat service by typing command :
# systemctl restart tomcat
Finally, access the Tomcat server using these formats :
http://YOUR_SERVER_IP_ADDRESS:8080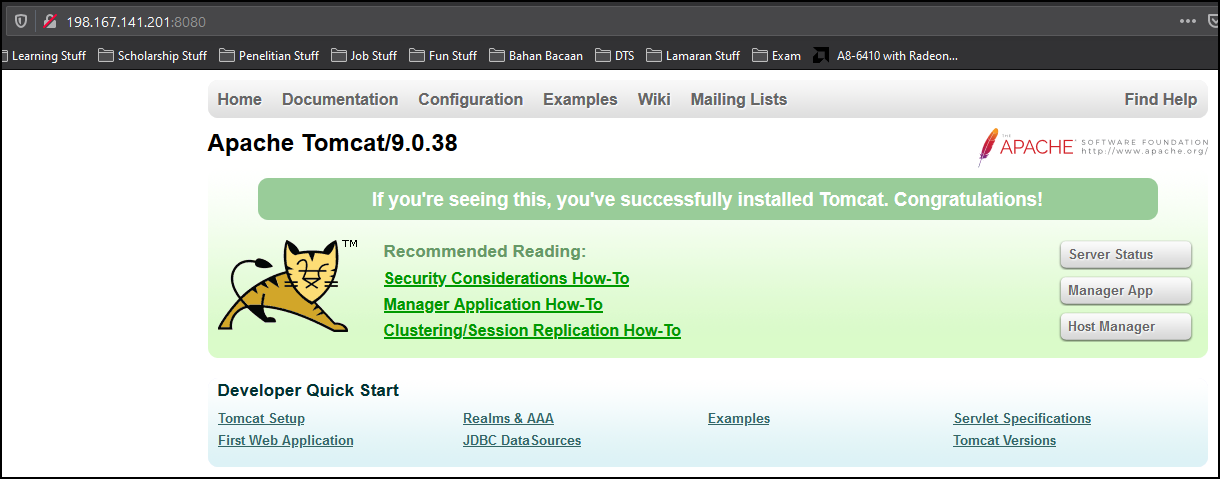
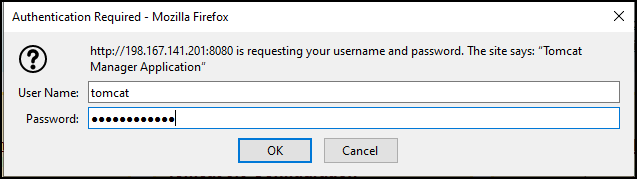
Accordingly, our Tomcat server is already accessible from the outside network. After that, try to access the Manager App mode, and enter the user credential we set before.
If the user credential that entered is correct, the Tomcat Web Application Manager will show up.
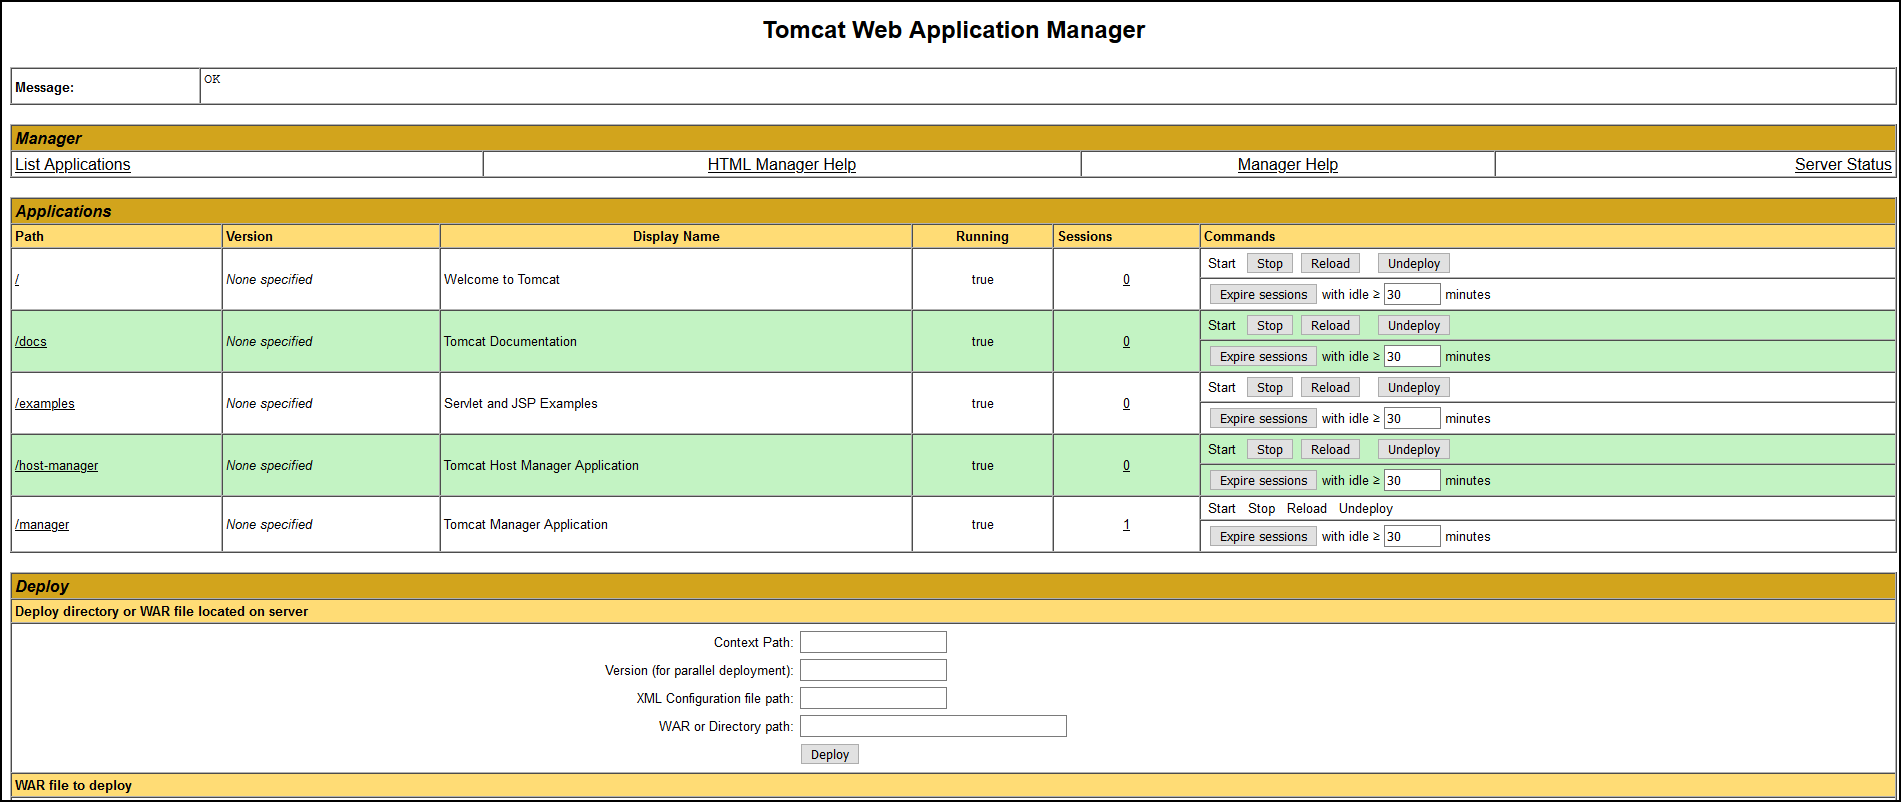
At last, your installation of Tomcat is complete. Additionally, you are now free to deploy your own Java web applications.
Conclusion
In conclusion, we have installed and configured Apache and Tomcat on Ubuntu Virtual Machine CloudRaya environment for serving Java web applications.