Installing LEMP Stack on Ubuntu 18.04
After creating an Instance or VM (Virtual Machine) in the cloud, there are various needs that you have to prepare for that instance. Accordingly, one of them is for the Web Server. To build a web server, one of the software stacks that is popular on Linux is LEMP Stack.
In brief, LEMP is an acronym that describes a Linux operating system, Nginx, MariaDB, and PHP (PHP-FPM). In addition, LEMP stack is a common variant in which the Apache web server is replaced by NGINX, pronounced “engine-x”, thus providing the “E”
Prerequisites
Before we begin to the tutorial, the following are the stack versions that we are going to install:
- OS: Ubuntu 18.04
- Latest Nginx Stable version for ubuntu 18.04
- PHP-FPM 7.4
- MariaDB 10.5
Nginx Installation
The following steps will install the nginx stable version for ubuntu 18.04
$ nginx=stable # use nginx=development for latest development version
$ echo "deb http://ppa.launchpad.net/nginx/stable/ubuntu $(lsb_release -sc) main" | sudo tee /etc/apt/sources.list.d/nginx-stable.list
$ apt-key adv --keyserver keyserver.ubuntu.com --recv-keys C300EE8C

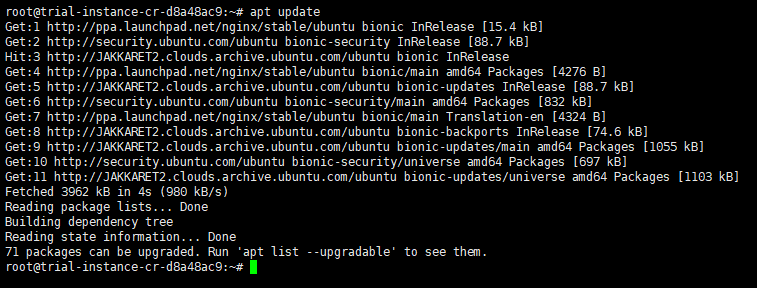
Run update
$ apt-get update
Install nginx
$ apt-get install nginx
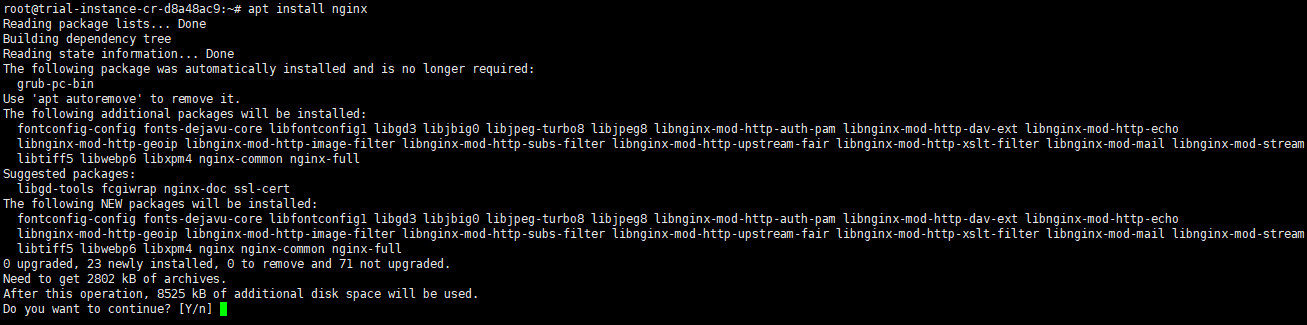
Type “y” to continue and there will be an installation process and when it’s done, you can test it out by accessing URL HTTP://your_public_ip_address.
http://your_public_ip_address
Accordingly, it will show welcome page as follows:

MariaDB Installations
Since we would like to install the latest stable version of MariaDB then the following are the steps:
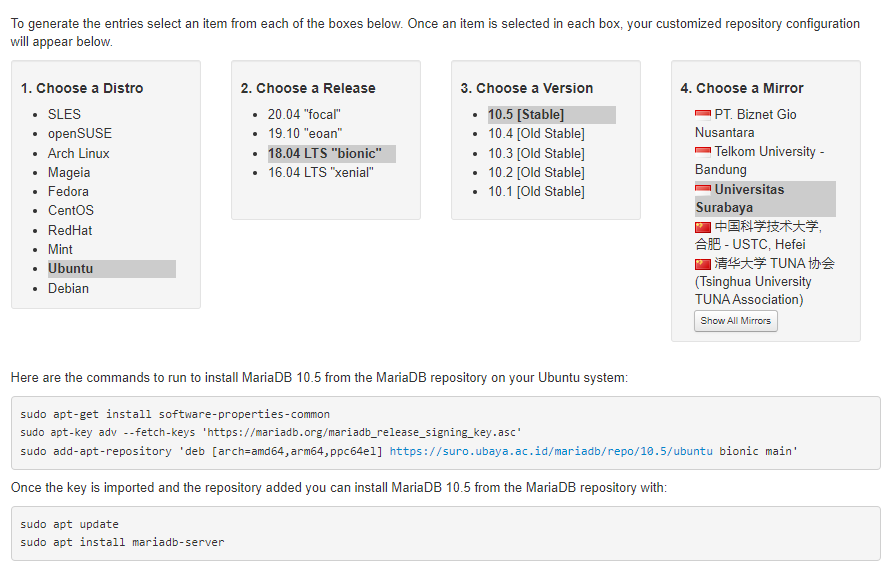
- Firstly, go to URL https://downloads.mariadb.org/mariadb/repositories from your web browser (ex: Chrome, IE, or Firefox). Then, it will redirect you to the best repository in your near area automatically.
- Secondly, select distro “Ubuntu” for the OS
- Thirdly, choose a release “18.04“
- Pick version “10.5” (the latest stable version when this article is posted)
- After that, choose a Mirror. Additionally, for this option, you can keep it default or change the best location near you.
- Finally, there will some Linux command line appear to run into your server for Installation. Please run the following command line one-by-one from top to bottom.
$sudo apt-get install software-properties-common
$sudo apt-key adv --fetch-keys 'https://mariadb.org/mariadb_release_signing_key.asc'
$sudo add-apt-repository 'deb [arch=amd64,arm64,ppc64el] https://suro.ubaya.ac.id/mariadb/repo/10.5/ubuntu bionic main'
$sudo apt update
$sudo apt install mariadb-server
The following is example script that will be generated from MariaDB repository official website.
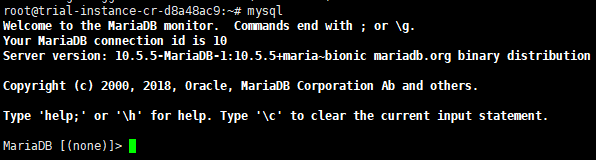
When all steps above have been done, you can type “MySQL” and you will log into MySQL
PHP Installations
We use php7.4-fpm as the PHP handler. Please run the following steps from SSH console
$ LC_ALL=C.UTF-8 add-apt-repository ppa:ondrej/php
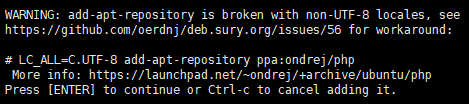
Press ENTER to continue
$ apt-get update
$ sudo apt-get install -y php7.4 php7.4-{fpm,bcmath,bz2,intl,gd,mbstring,mysql,zip}
Configure PHP
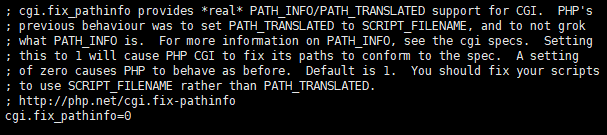
sudo nano /etc/php/7.4/fpm/php.ini
Uncomment or remove “;” ==> cgi.fix_pathinfo=0
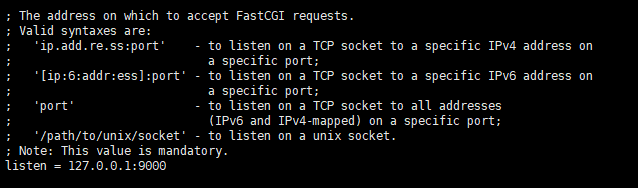
The last one, open and edit the following file
nano /etc/php/7.4/fpm/pool.d/www.conf
Edit the following line
from:
listen = /run/php/php7.4-fpm.sock
to:
listen = 127.0.0.1:9000
Restart PHP Service
$ systemctl restart php7.4-fpm
Test the installation
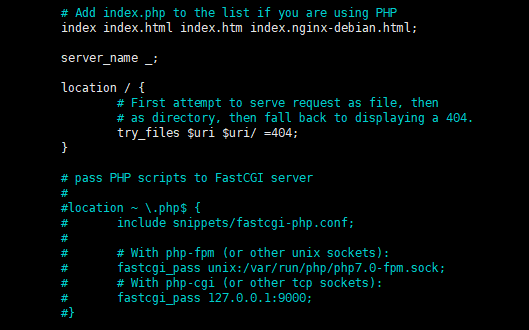
Next, we also have to verify whether nginx and PHP are connected. In so doing, we have to edit the nginx configuration at /etc/nginx/sites-enabled/default
Edit from:
# Add index.php to the list if you are using PHPindex index.html index.htm index.nginx-debian.html;server_name _;location / {# First attempt to serve request as file, then# as directory, then fall back to displaying a 404.try_files $uri $uri/ =404;}# pass PHP scripts to FastCGI server##location ~ \.php$ {#include snippets/fastcgi-php.conf;### With php-fpm (or other unix sockets):# fastcgi_pass unix:/var/run/php/php7.0-fpm.sock;# # With php-cgi (or other tcp sockets):#fastcgi_pass 127.0.0.1:9000;# }
To:
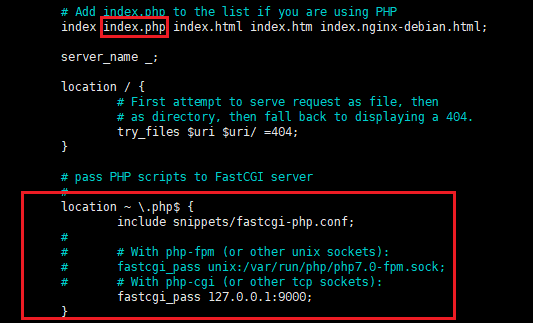
# Add index.php to the list if you are using PHPindex index.php index.html index.htm index.nginx-debian.html;server_name _;location / {# First attempt to serve request as file, then# as directory, then fall back to displaying a 404.try_files $uri $uri/ =404;}# pass PHP scripts to FastCGI server#location ~ \.php$ {include snippets/fastcgi-php.conf;### With php-fpm (or other unix sockets):# fastcgi_pass unix:/var/run/php/php7.0-fpm.sock;# # With php-cgi (or other tcp sockets):fastcgi_pass 127.0.0.1:9000;}
Then, test and restart the nginx service to apply the changes:
Test nginx configuration:
nginx -t

$ systemctl restart nginx

Create test script with simple PHP syntax
Currently, by default, the web root folder is at /var/www/html. So, we will create a new test PHP script to /var/www/html
cd /var/www/html

Afterwards, create test file
nano /var/www/html/index.php
and append the following script
<?php
phpinfo();
?>

Access URL http://ip_address/index.php
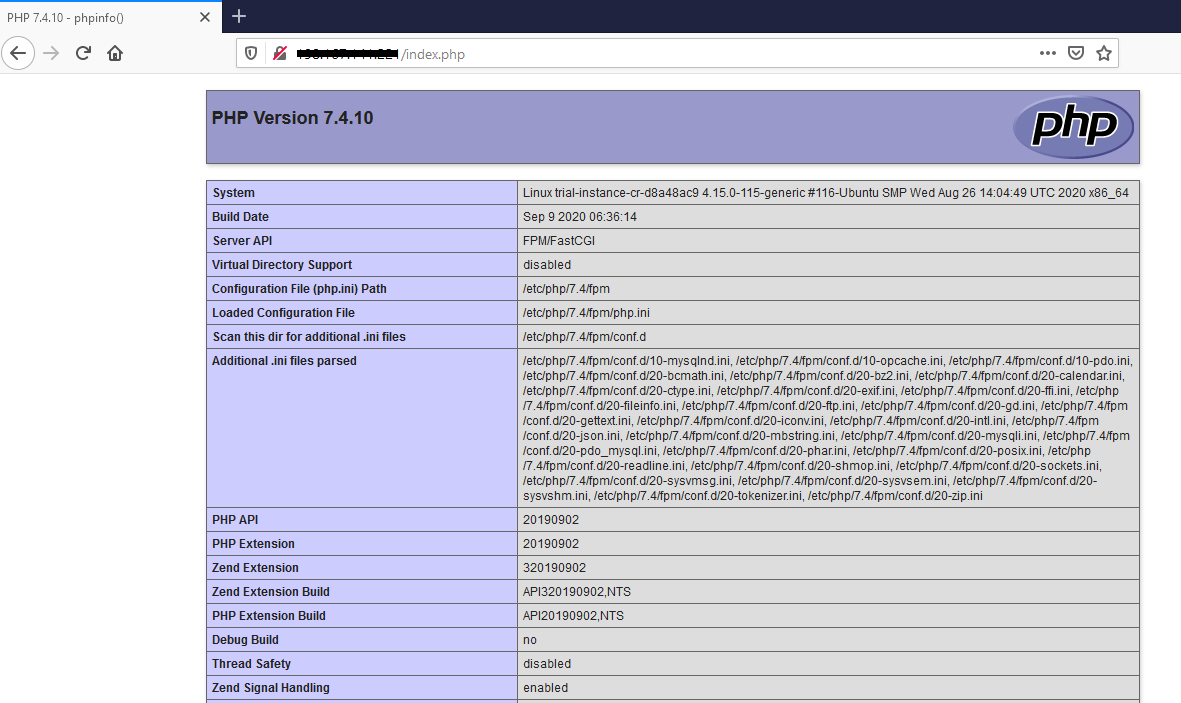
If you see window above on your browser, then you have managed to install the LEMP Stack. At this point, you are ready to upload your website data to the server.
Last but not least, we hope that this helps.