Deploying Magento on Cloud Raya
Introduction
In this article we will show you how to deploy Magento on Cloud Raya. Before we begin, let’s get to know about the Magento.
In short, Magento is a content management system focus on eCommerce, that helps the users to create eCommerce websites. It was released on March 31, 2008, by Varien, and then developed on Zend Framework.
In addition, there are some basic features of Magento:
- Product management: able to manage product such as product images, product reviews, favourite product list, and product list.
- Category management: to help user find and then select products by category easier.
- Inventory management: it shows management of products quantity and also the options.
- Client account: It shows account status, transaction history, preferred catalog, address, and also shopping cart.
- Customer service: allows the admin to assist the customer actions, such as cancel order, order tracking and history from account, reset mail and password, etc.
- Order Management: this feature relates to order as well as invoice management. So, the admin able to view, edit, create, and fulfill orders and/or invoices from the admin panel.
- Payments: many payment methods such as credit card, PayPal, Google Checkout, support for external payment modules like CyberSource, ePay, eWAY, and more.
- Search technology: it is fast, friendly, and also support search on Google SiteMap.
- International support: Language support, multiple currencies, as well as tax rates.
- Promotion and marketing tools: it includes coupons, promotions, and many more.
- Analyze and report: it integrates with the Google Analytics service and also provide multiple reports.
Installation Stage
1. System Requirements and Package Installation
In this article, we will deploy Magento in a single node environment. While, the Magento deployment in the cluster may need addition environment and steps. The requirements for a single node deployment are described as below:
- Virtual Server with Ubuntu 20.04 x86_64 and 4 GB minimum memory
- Nginx 1.x, as a web server
- PHP7.4-FPM, and the extensions needed
- MariaDB 10.4 as a database
- Elasticsearch 7.x, as an indexing engine (required by Magento)
- Composer 1.10.16
1.1 Creating a virtual machine in Cloud Raya
Please find the virtual machine creation steps on this link. After that, Select Ubuntu 20.04 as a based OS in the image selection, and choose a package with a minimum 4 GB memory resource.
1.2 Installing Nginx 1.x Web Server
- First of all, please update the current Ubuntu repository by running this command $ sudo apt update.
- Then, Install the Nginx package from Ubuntu repository $ sudo apt install nginx -y.
- Next, check the nginx version by executing $ nginx -v
1.3 Installing PHP7.4-FPM and the required extensions
- Firstly, type this command to install PHP7.4-FPM in the virtual machine $ sudo apt install php7.04-fpm -y
- After that, Verify the PHP version
$ php -v - Then, add the required php extentions to the system.
$ sudo apt install -y php74u-pdo php74u-mysqlnd php74u-opcache php74u-xml php74u-gd php74u-devel php74u-mysql php74u-intl php74u-mbstring php74u-bcmath php74u-json php74u-iconv php74u-soap1.4 Installing MariaDB 10.4
- First, setup the repository and install it to the virtual machine by following this link.
- We can also follow the secure installing process in the link above to hardened our MariaDB
- Run the following command to install the dependency of MariaDB 10.4
$ sudo apt install -y mariadb-server-10.04 mariadb-client-10.4 - Then, login the to the MariaDB server to determined its version

1.5 Installing Elasticsearch 7.x
- We need Java Development Kid (JDK) before adding Elasticsearch into the virtual machine. We can install the JDK using the following command
$ sudo apt install -y java-1.8.0-openjdk - Follow this link for Ubuntu or Debian based platform.
- Please also make sure the Elasticsearch service is running after it’s started.
1.6 Installing Composer
- Composer’s manual suggests to not run the command using a root or super privileged. So, we will create a temporal user to execute the composer command.
- Create a temporal user using the command below, and add it to www-data usergroup
$ sudo adduser admuser$ sudo usermod -aG www-data admuser- Then, download the composer file direct from the internet. Then move the file to /usr/local/bin directory
$ sudo curl -sS https://getcomposer.org/installer | php
$ sudo mv composer.phar /usr/local/bin/composer- Run the following command to change the composer version to 1.10.16
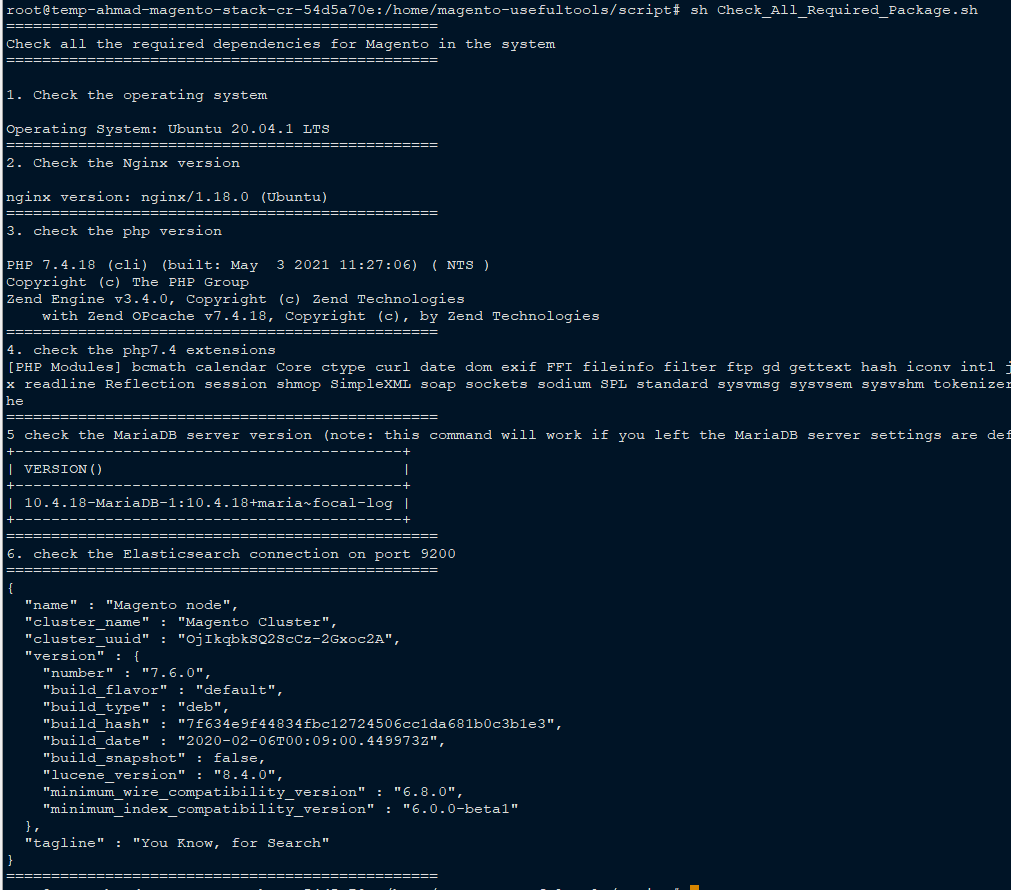
$ composer self-update 1.10.16Let’s check the all the installed dependencies using the simple script below
$ git clone https://github.com/kingahmadr/magento-usefultools.git; cd magento-usefultools/script$ sh Check_All_Required_Package.sh
Minimal Configuration
In this section, We will tweak the configuration of all Magento dependencies on the virtual machine with a minimal tweaking.
2. Configuring Nginx and Terminate SSL
We will configure the Nginx web server, to use the PHP-FPM as an upstream connection and configure the SSL Certificate on the domain.
- Create the domain file configuration in directory /etc/nginx/sites-available
$ sudo touch <name of your domain>.<tld>
2.1 Domain Configuration
- Configure the domain in /etc/nginx/sites-available as the following example:
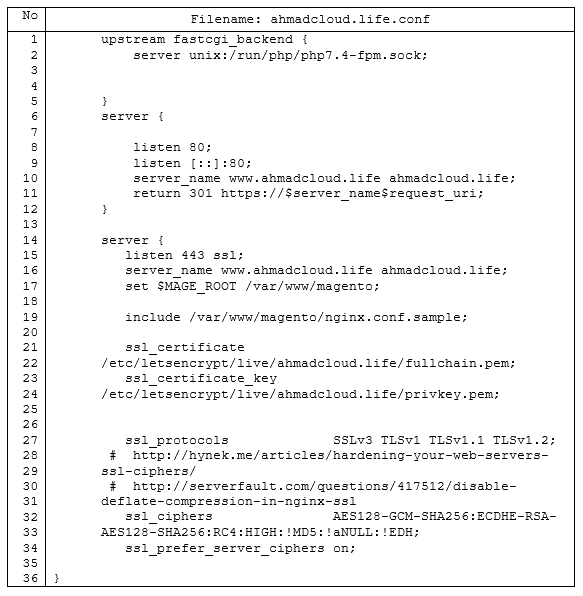
- Line 1 – 5 describes a fastcgi backend server between Nginx web server and PHP-FPM.
- 6 – 12, is a function to redirect http connection of the domain to an https connection.
- 15 – 17, described the name of the domain listened, and set the MAGE_ROOT variable to /var/www/magento (the Document Root of our Magento Platform).
NOTE The server_name value in the configuration is a domain name that you have bought from the registrar
- 19, describes an included Nginx configuration in directory /var/www/magento. Magento provides a template configuration of nginx web server on their directory. We can included that configuration in our nginx configuration.
- 21 – 24, define the SSL certificate file and SSL certificate key file directory. In this lines, it will be used by the web server to perform an SSL termination.
- 27 – 34, the directives for SSL hardening purposes.
Create a symbolic link to /etc/nginx/sites-enabled
$ sudo ln -s /etc/nginx/sites-available/ahmadcloud,life.conf /etc/nginx/sites-enabled/ahmadcloud.life.conf
Test the Nginx configuration by execute nginx -t command. If the test success, execute the “nginx -s reload” to reload the current configuration

2.2 Configuring PHP
Find the php configuration file in /etc/php/7.4/fpm/php.ini & /etc/php/7.4/cli/php.ini. Don’t forget to backup the original configuration of php.ini
- Firstly, set the system time zone for PHP. Locate the following setting and uncomment it if necessary
date.timezone =
- Then, increase the values for the PHP
realpath_cache_size, andrealpath_cache_ttlto recommended settings.
realpath_cache_size=10M
realpath_cache_ttl=7200- Enable opcache.save_comments, which is required for Magento 2.1 and later. Locate the opcache.save_comments directive and uncomment it if necessary. Make sure its value is set to 1

- Next, change the value of memory_limit, max_execution_time and zlib.output_compression to one of the values recommended.
memory_limit = 2G
max_execution_time = 1800
zlib.output_compression = On
2.3 MariaDB instance Configuration
In this section we will discuss how to create a new database instance for Magento. Although we recommend a new database instance, you can install Magento into an existing database instance (optionally).
- before that, login to your database server using a privileged user
$ mysql -uroot
- Enter the following commands in the order shown to create a database instance named magento with username magento:
creating a new databasecreate database magento;make a new user with a localhost access
create user 'magento'@'localhost' IDENTIFIED BY 'R2phuYzuMAEG8jgS';Grant all privilege to user magento@localhost to database magento
GRANT ALL ON magento.* TO 'magento'@'localhost';flush privileges; - Verify the database

2.3.1 Magento Database Tweaking
We recommend you to configure your database instance as appropriate for your business. When configure your database, please keep the following in mind:
- Indexers require higher tmp_table_size and max_heap_table_size values (e.g., 64M). If you configure the batch_size parameter, you can adjust that value along with the table size settings to improve indexer performance.

- For optimal performance, make sure all MySQL and Magento index tables can be kept in memory (e.g., configure innodb_buffer_pool_size)
- Reindex process on MariaDB 10.4 takes more time compared to other MariaDB or MySQL versions. To speed up reindex process, we recommend setting these MariaDB configuration parameters,
optimizer_switch=’rowid_filter=off’, optimizer_use_condition_selectivity = 1
To set those variable permanently, We will create the *.cnf file in /etc/mysql/mariadb.conf.d/ directory. We will name the file as magento.cnf

To check the variable’s value, we can execute the below command:
mysql -uroot -e "SHOW VARIABLES LIKE 'optimizer_switch';" | grep -i "rowid_filter" \

&& mysql -uroot -e "SHOW VARIABLES LIKE 'optimizer_use_condition_selectivity';"

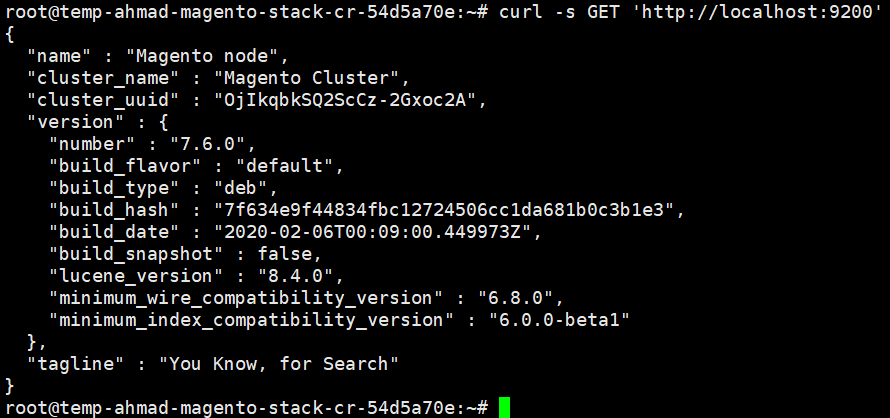
2.4 Elasticsearch Configuration
There are three things we would like to change in the file configuration (/etc/elasticsearch/elasticsearch.yml)
- Update the Cluster Name by replacing the cluster.name value, with something descriptive, for instance “Magento Cluster”.
- Then, update the Node Name, replace the node-name value with something descriptive like “Magento Node”
- You need to update the Network Host also. And finally do the same with network.host , replacing the IP (“192.168.0.1”) with “localhost”.
- Lastly, Save the configuration and restart the service.
# systemctl restart elasticsearch.service
3. Deploy Magento using composer
First of all, we will need a Magento Marketplace account and generate a set of keys during the Magento 2.4 installing process. Once sign into Magento Marketplace, navigate to My Profile. Under the Marketplace tab, click on Access Keys. After that, under the Magento 2 tab click the Create A New Access Key button. In the Popup, give this an proper name such as the Business Name of the website you plan to install (note, you cannot use spaces). Once you generate your Public Key and Private Key, put them somewhere safe for later.
- To begin the Magento installation using composer, first navigate to Magento Document Root (/var/www/magento)
- Change the folder owner to admuser:www-data
# cd /var/www
# chown -R admuser:www-data magento
# cd magento
- Execute the composer installer as an admuser user
# su admuser -c “composer create-project –repository-url=https://repo.magento.com/ magento/project-community-edition=2.4.0 .”
- During the setup, we will be asked for a Username and a Password. Just to be clear, Username = Public Key and Password = Private Key. Once underway, the composer process can take anywhere from 5-10 minutes to complete

- In the current directory run the following instruction to setup Magento with a described environment. You must define your own to fullfill your needs. Below are just an example of my setup.
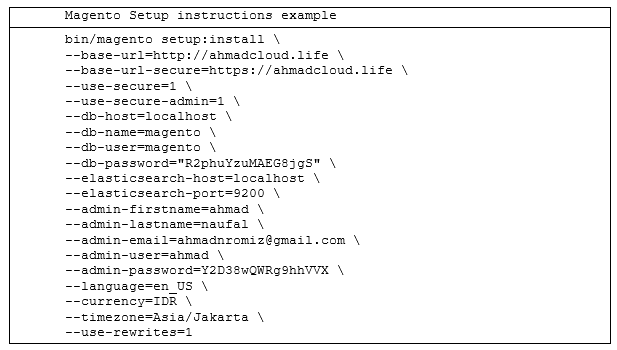
Once the setup is complete, it will look like this
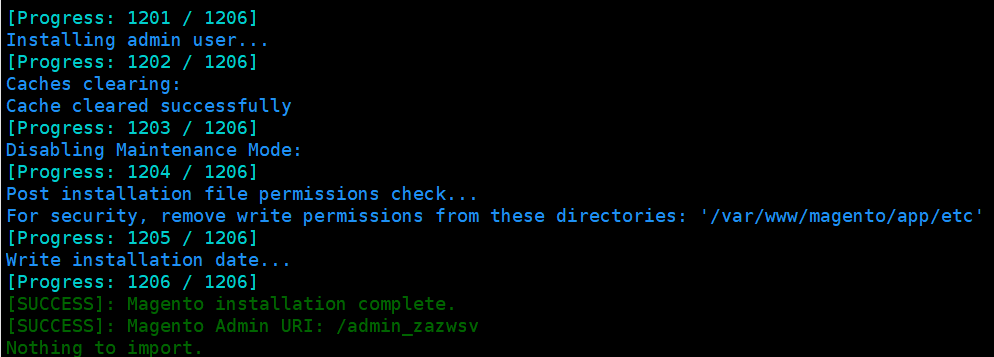
NOTE: IF YOU HAVE AN ISSUE WITH A TWO-FACTOR AUTHENTICATION STEPS, YOU CAN DISABLE THE MODULE HERE.
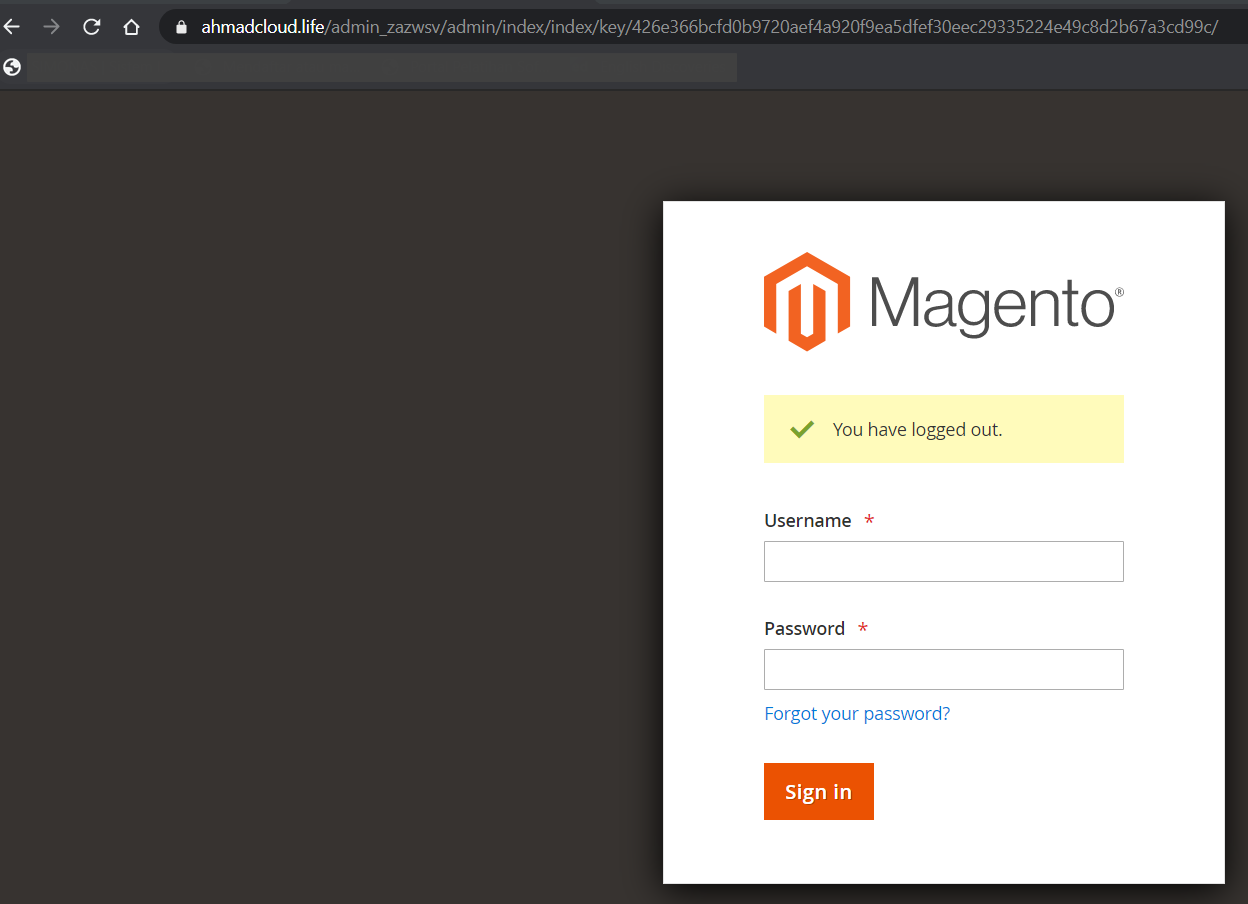
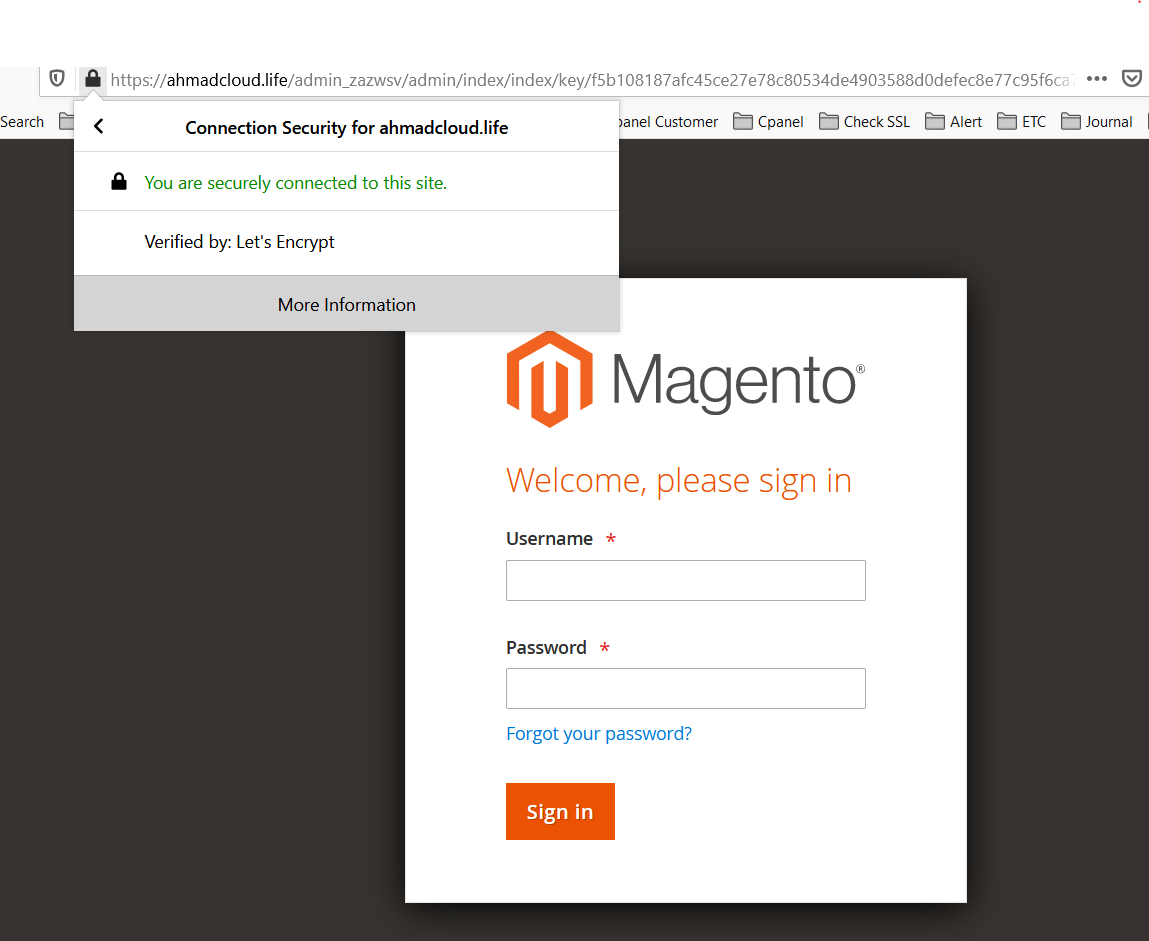
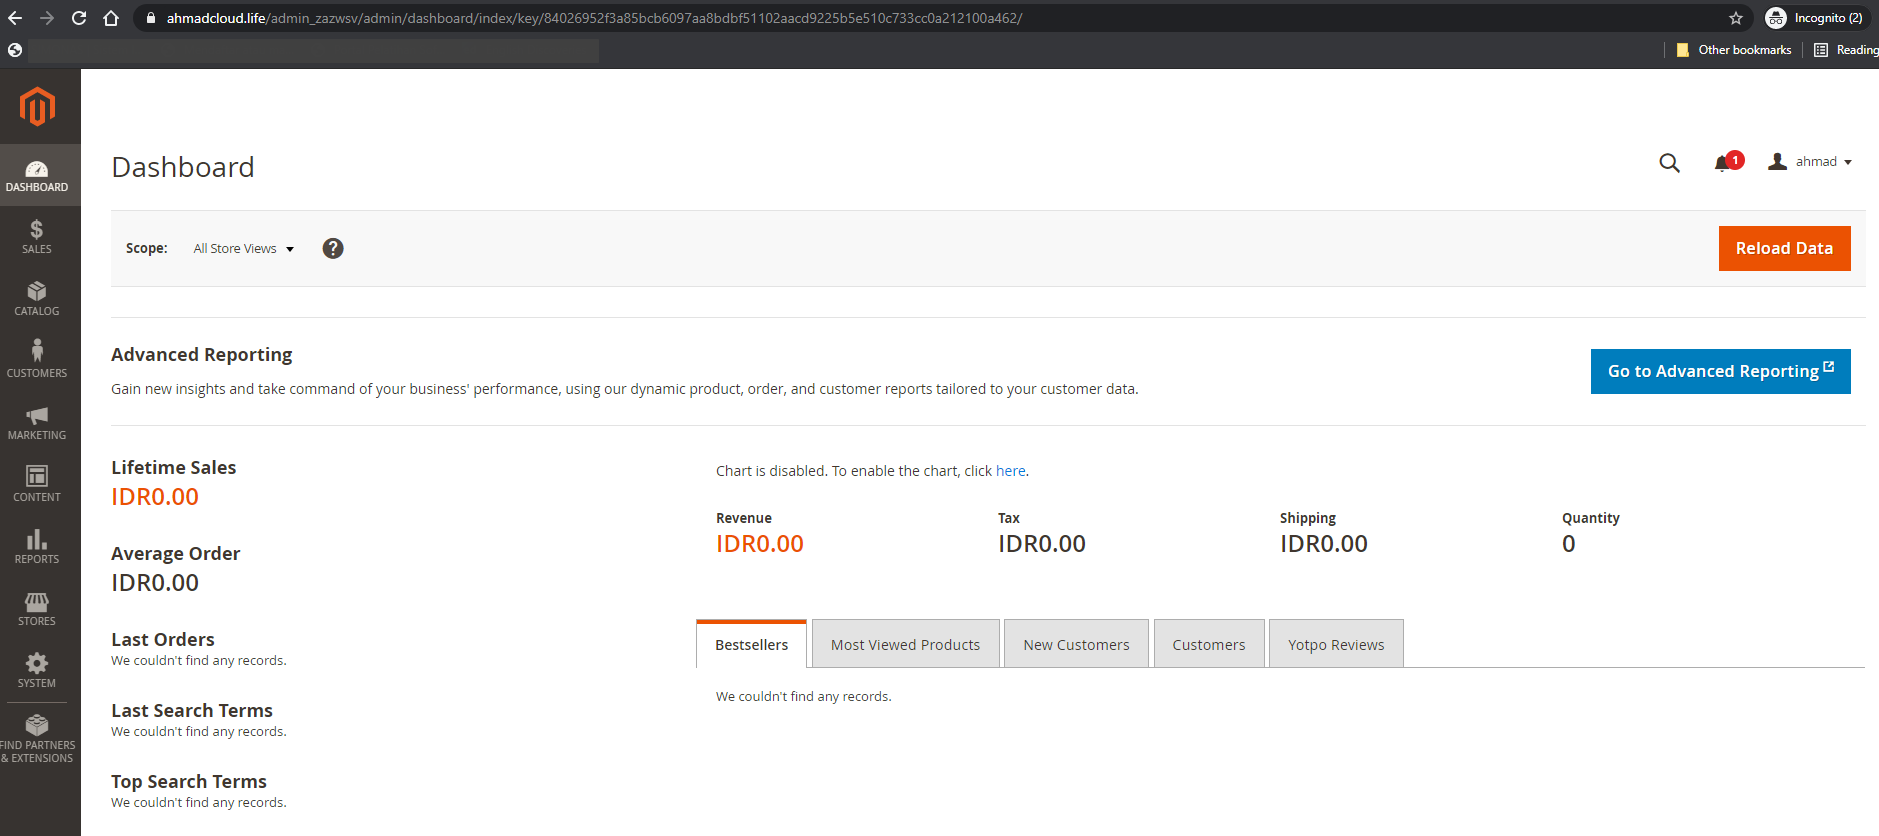
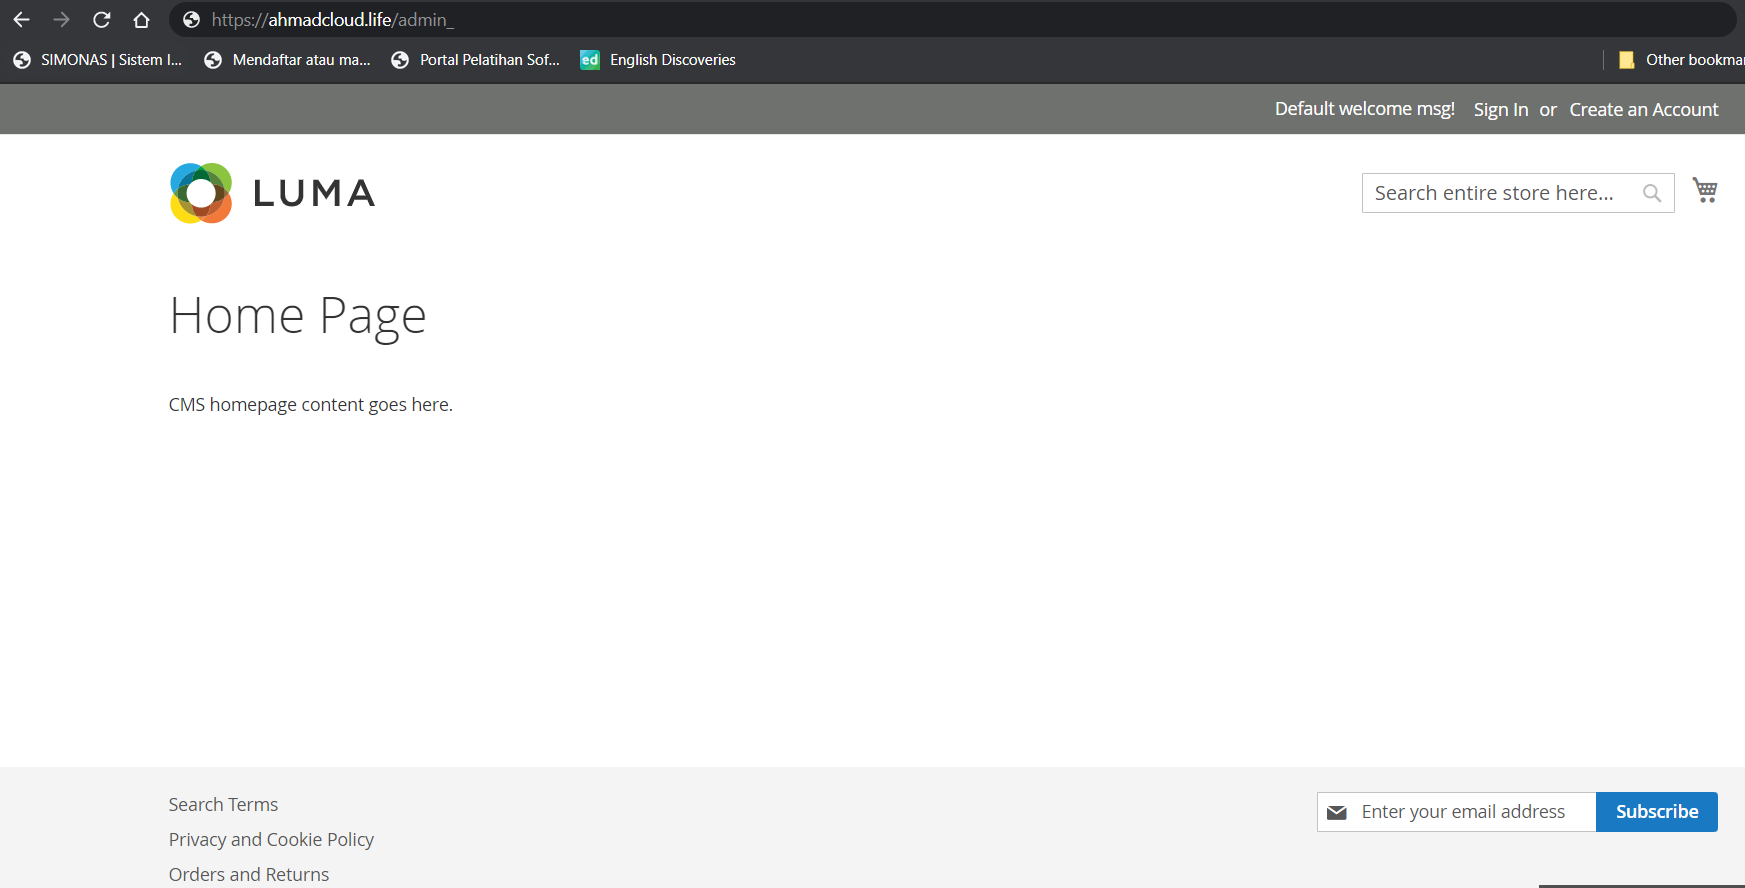
After this section you should be able to access Magento from your domain. (e.g https://ahmadcloud.life/admin_zazwsv)