Installing LAMP in Ubuntu
LAMP (Linux, Apache, MySQL, PHP) is a software stack that is quite popular for Ubuntu users to host dynamic websites and web applications written in PHP.
To use LAMP properly, we must install Apache, MySQL, and PHP packages one by one. Here are the steps for installing and configuring LAMP in the CloudRaya Virtual Machine that uses the Ubuntu operating system.
Step 1 – Installing Apache2
Apache2 is the most famous web server with most users in the world. Therefore, it still is a great choice for hosting a website.
To begin with, update the Ubuntu repository with the command :
# apt update
Then, install the Apache2 package with the command :
# apt install apache2
Don’t forget to add port 80 to the Network Security Profile. For example, I’m allowing all IP Address to access port 80 on this Virtual Machine.

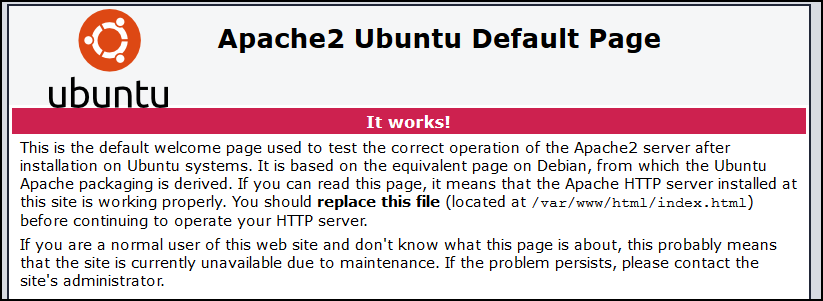
After that, access the Virtual Machine Public IP Address with a web browser. If the installation process succeeds, it should display the Apache2 Ubuntu Default Page as shown below.
Step 2 – Installing MySQL
If Apache2 functions as a web server, then MySQL acts as RDBMS (Relational Database Management System) on LAMP. MySQL is a Database Management System that is quite popular for the PHP programming language.
To install MySQL on Ubuntu, type command :
# apt install mysql-server
After the installation process is complete, it is recommended to run a series of processes aimed at improving MySQL security. To run the process, type command :
# mysql_secure_installation
A new message will pop up, there is an option if you want to enable the “VALIDATE PASSWORD” feature.
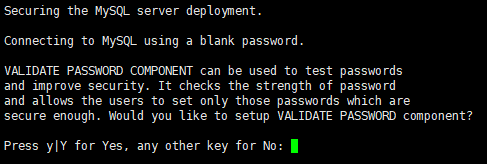
This tool checks the password strength and allows the MySQL users to set only those passwords which are secure enough. There is 3 level :
- LOW --> Length >= 8
- MEDIUM --> Length >= 8, numeric, mixed case, and special characters
- STRONG --> Length >= 8, numeric, mixed case, special characters, and dictionary
Press y / Y if you want to use “VALIDATE PASSWORD” or press n / N if you don’t want to use it.
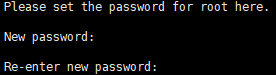
Set the root MySQL user password by filling these prompts with the password you want.
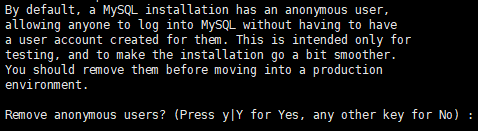
It is advised to remove the “anonymous” MySQL users before moving into a production state. Press y / Y to remove the “anonymous” MySQL user on the next pop up.
Then, to secure MySQL from a remote connection. Root login by remote access has to disable on the next pop up.

Same with the anonymous MySQL user, it is advised to remove “test” named database before moving into a production state. Press y / Y to remove “test” named database on the next pop up message.

Press y / Y to reload the privilege tables so the several configuration above will apply.

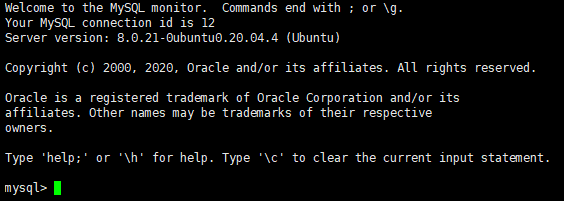
To test the MySQL root user locally, test it by type command :
# mysql -u root -p
Then, fill the password on the password prompt that appear.
If the credential is correct, the MySQL prompt will appear and be ready to use.
Remember, if you want to use the MySQL remote connection, add port 3306 to the Network Security Profile that used by Virtual Machine.

Step 3 – Installing PHP
We have Apache2 and MySQL installed as a part of the LAMP installation. PHP is needed on this 3rd step as a scripting language for LAMP. According to w3techs data, PHP is used by 78,9% of websites on the internet. This makes PHP is a good choice for a server-side programming language for your website.
Install PHP by typing command :
# apt install php php-mysql libapache2-mod-php
Explanation :
- php : php core package
- php-mysql : PHP module that allows PHP to communicate with MySQL-based database
- libapache2-mod-php : PHP module that enable Apache2 to handle PHP files
After PHP is installed, you can check the PHP version by typing command :
# php -v
To test the PHP installation also see the complete info of the installed PHP, make a new PHP file on /var/www/html directory with any text editor and name it info.php. The content of the info.php must be like below :
<?php
        phpinfo();
?>
Save the file, and then access it from the web browser by URL :
http://YOUR_VM_IP_ADDRESS/info.php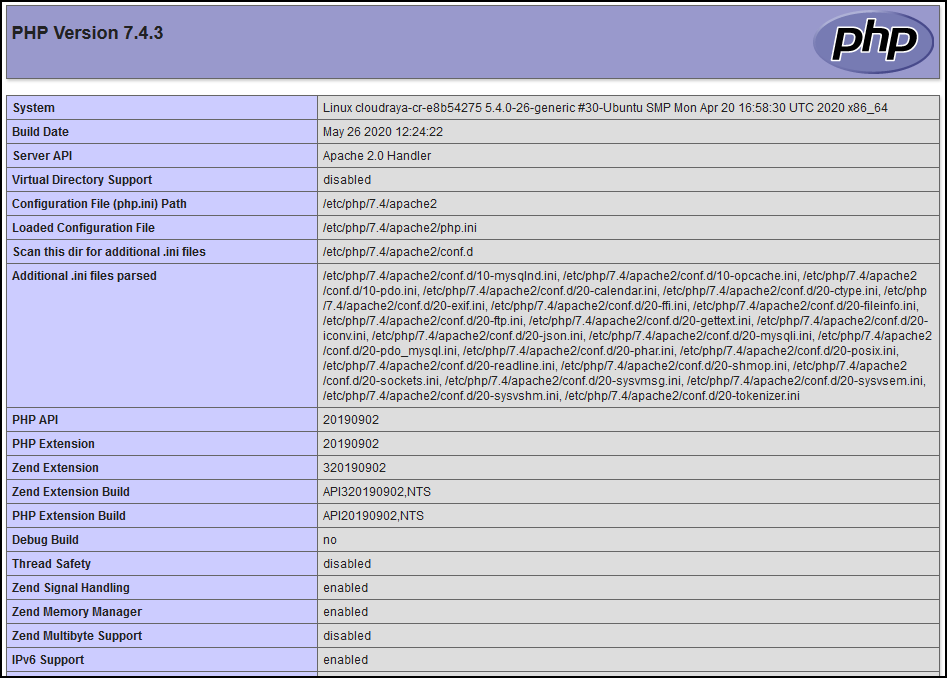
As we can see info.php file displayed complete information for PHP that installed on the Ubuntu CloudRaya Virtual Machine.
Congratulations! You have now set up and configured a LAMP stack on Ubuntu CloudRaya Virtual Machine.
Conclusion
In this guideline, we have installed and configured LAMP stack on Ubuntu Virtual Machine CloudRaya environment for serving PHP websites and applications using Apache2 as a web server and MySQL as a database management system.